
TL;DR:
- Properly installing slatwall panels is essential for a secure and professional-looking retail display.
- Level the bottom row accurately and use at least 24 screws per panel to ensure durability and prevent crooked seams.
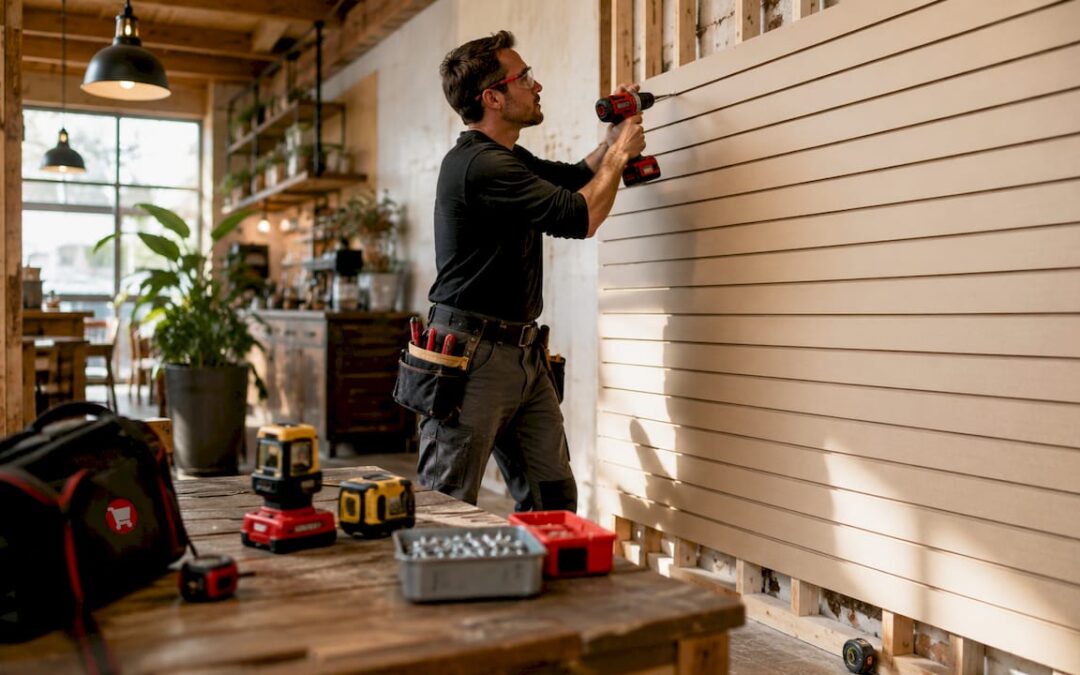
Slatwall panel installation is the process of securely mounting grooved wall panels to create a versatile, load-bearing merchandising system for retail spaces. For boutique owners, getting this right matters more than most realise. Standard slatwall panels must be fastened to wall studs every 16 inches on-centre to support up to 75 lbs per square foot safely. Commercial-grade MDF panels with aluminium inserts prevent the sagging and slot deformation that home-grade panels suffer in busy retail environments. Done correctly, a slatwall installation gives your boutique a permanent, architecturally integrated look that modular display solutions simply cannot match.
What tools and materials do you need for slatwall panel installation in a boutique?
Getting the right kit together before you start saves time and prevents costly mistakes mid-job. The core tools are a stud finder, a spirit level, a power drill, a measuring tape, a saw, and a pencil for marking. You will also need coarse-thread drywall screws in the 2–3 inch range, which are the correct specification for mounting slatwall panels on MDF or wooden studs.
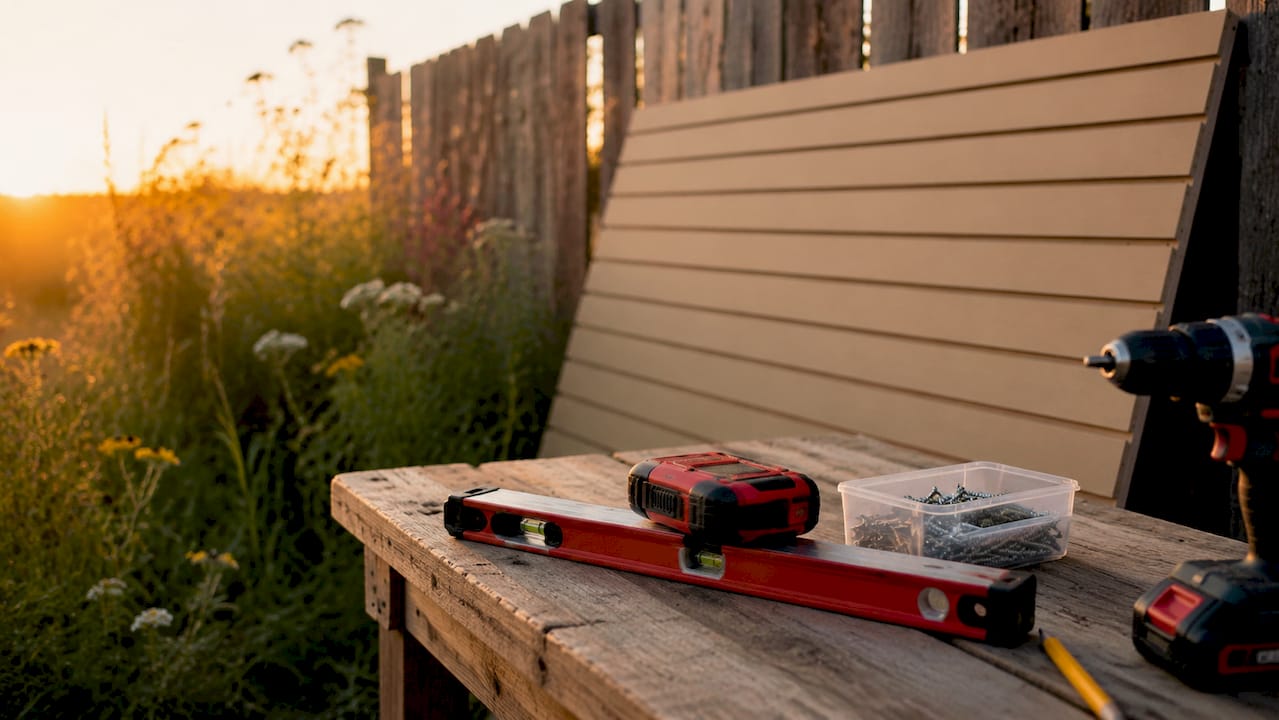
For materials, commercial-grade MDF slatwall panels are the only sensible choice for a boutique. Commercial panels feature reinforced grooves with aluminium inserts, which prevent slot widening under the weight of hooks, shelves, and product. Construction adhesive is optional but recommended for extra rigidity on high-traffic walls. You will also need H-channel joint inserts, corner trim, and a temporary timber ledger board to act as a starting guide.
| Item | Type | Purpose |
|---|---|---|
| Stud finder | Tool | Locates wall studs for secure fastening |
| Spirit level | Tool | Keeps panels perfectly horizontal |
| Power drill | Tool | Drives screws through grooves into studs |
| 2–3 inch coarse-thread screws | Hardware | Provides grip in MDF and wooden framing |
| Commercial MDF slatwall panels | Material | Load-bearing display surface |
| Construction adhesive | Material | Adds shear strength and removes bounce |
| H-channel inserts | Finishing | Covers joints between panels |
| Corner trim | Finishing | Protects and conceals cut edges |
Pro Tip: Buy 10% more panels than your wall area calculation suggests. Cuts around sockets, pipes, and corners waste more material than most first-time installers expect.
How do you prepare your boutique wall for slatwall panels?
Wall preparation is where most boutique installations succeed or fail. Start by checking the wall surface for any damage, damp, or uneven sections. Slatwall panels need a flat, dry substrate. If your wall has a pronounced bow or hollow, address it before any panels go up.
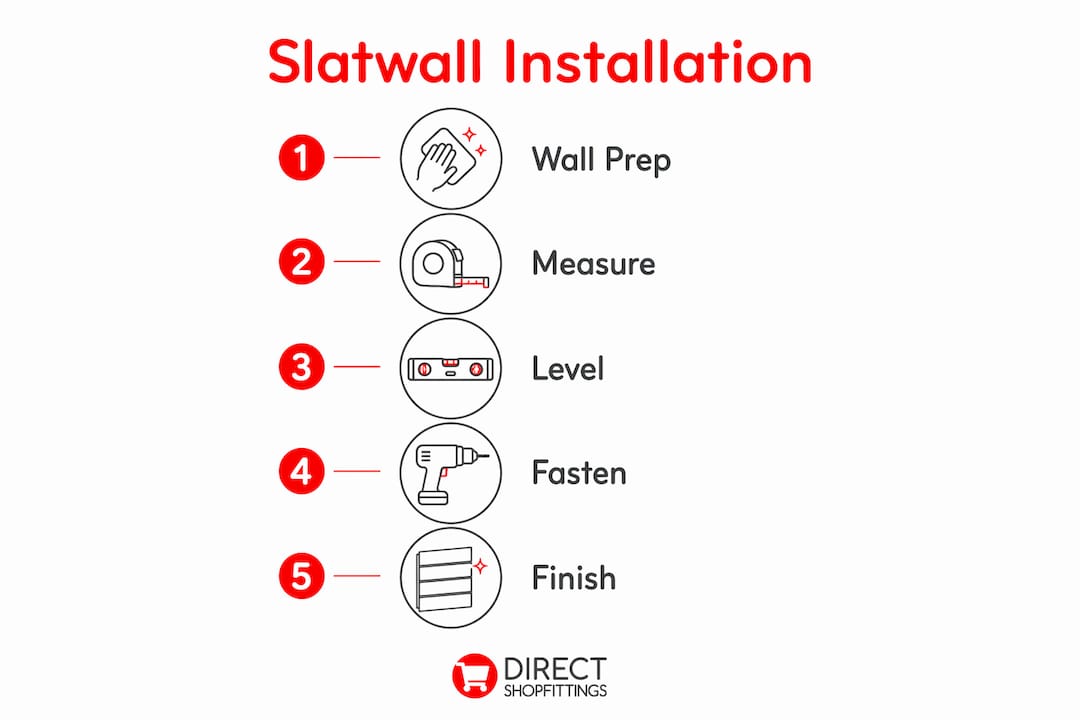
Use a stud finder to locate every stud across the full width of the wall. Mark each stud position clearly with a pencil at both the top and bottom of the installation area. Standard UK timber-frame walls have studs at 400mm or 600mm centres, though older buildings vary. Knowing your stud layout determines how you cut and position your panels.
Measure the total wall height and width carefully. Divide the width by the panel width to calculate how many full panels you need and how wide any cut panels at the ends will be. Plan your layout so cut panels fall at the least visible edges, typically the corners furthest from the shop entrance.
- Mark all stud positions from floor to ceiling with a pencil line.
- Measure wall height and width, then calculate panel quantities.
- Decide on your starting height. Most boutiques begin at floor level or just above a skirting board.
- Fix a straight timber ledger board horizontally across the wall at your starting height. Use a spirit level to confirm it is perfectly level.
- Mark the positions of any electrical sockets, light switches, or fixed fixtures that will need cut-outs.
- Check that your planned panel groove lines will align with stud positions for fastening.
Levelling the first bottom row accurately is the single most critical step in the entire process. Any misalignment at the base propagates upward through every subsequent panel, creating visible crooked seams that are almost impossible to correct without removing everything.
Pro Tip: Use a laser level rather than a standard spirit level for the ledger board. A laser line across the full wall width catches any floor slope that a short spirit level misses.
Step-by-step guide to installing slatwall panels securely
With your wall prepared and your ledger in place, you are ready to mount panels. Follow this sequence for a clean, professional result.
- Place the first panel flat against the wall, resting on the ledger board. Confirm it is level and that its vertical edges align with stud positions where possible.
- Drive screws through the panel grooves directly into the wall studs. Use at least 24 screws per 4×8 foot panel, spaced evenly across the panel face. This is the professional standard for a lasting hold.
- For panels with aluminium inserts, pre-drill holes slightly larger than the screw shank before driving screws. Forcing a screw through an aluminium insert without pre-drilling cracks the MDF core and creates a weak fixing point.
- Apply a continuous bead of construction adhesive to the back of each panel before pressing it to the wall. Adhesive combined with mechanical fasteners increases panel rigidity and eliminates the hollow, bouncy feel that undermines confidence in the display.
- Stack the second row of panels on top of the first, interlocking the grooves carefully. Check level after each panel before driving any screws.
- Continue row by row, checking alignment constantly. Do not assume a panel is level because the one below it was.
- Cut panels to fit around sockets and corners using a jigsaw or circular saw. Score the face with a sharp knife first to prevent chipping.
- Finish all exposed edges and joints with H-channel trim or corner moulding. H-channel hides cut ends and swelling of the MDF core and creates clean, professional-looking seams.
“Screws driven through the grooves are invisible once accessories are loaded onto the wall. This is the correct method. Screws through the panel face are visible and weaken the display surface.”
| Mounting method | Screw type | Screws per panel | Adhesive needed |
|---|---|---|---|
| Standard MDF panels | 2–3 inch coarse-thread | 24 minimum | Optional |
| Panels with aluminium inserts | 2–3 inch coarse-thread, pre-drilled | 24 minimum | Recommended |
| High-traffic boutique walls | 2–3 inch coarse-thread | 24 minimum | Required |
Pro Tip: Remove the timber ledger board once the bottom two rows are fully secured. Fill the ledger fixing holes with filler, sand smooth, and paint before the skirting board goes back on.
What mistakes should you avoid during boutique slatwall installation?
The most common errors in boutique slatwall installation are predictable and entirely avoidable. Knowing them in advance saves you from having to redo work.
The biggest single error is an unlevel bottom row. Any misalignment in the first row compounds with every subsequent panel. By the time you reach the top of the wall, a 2mm error at the base can produce a visible lean of several centimetres. Check level obsessively on the first row and recheck after every panel.
Using too few screws is the second most common mistake. Fewer than 24 screws per panel leaves sections of the panel unsupported. Under load from shelves and hooks, unsupported sections flex, which eventually widens the grooves and loosens the fixing. Stick to the 24-screw minimum without exception.
- Never skip the stud finder step. Screws driven into plasterboard alone will pull out under load.
- Do not use fine-thread screws. Coarse-thread drywall screws in the 2–3 inch range grip MDF and timber framing correctly. Fine-thread screws strip out quickly.
- Do not force screws through aluminium inserts without pre-drilling. The MDF cracks and the fixing becomes unreliable.
- Avoid skipping adhesive on walls that will carry heavy accessories such as shoe racks or garment rails.
- Do not leave panel edges exposed. Unfinished MDF edges absorb moisture, swell, and look unprofessional.
For ongoing maintenance, wipe panels down with a dry or slightly damp cloth. Avoid solvent-based cleaners, which strip the panel finish. Check screw tightness every six months in high-traffic areas. If a groove begins to widen, reinforce the fixing from behind rather than adding more screws to the face.
Pro Tip: Keep a record of your stud positions after installation. If you ever need to add a panel or reposition a section, you will not need to re-survey the wall.
Key takeaways
Precise levelling at the base row and a minimum of 24 screws per panel are the two factors that determine whether a boutique slatwall installation lasts years or fails within months.
| Point | Details |
|---|---|
| Fasten to studs every 16 inches | Stud fixing supports up to 75 lbs per square foot and prevents pull-out under load. |
| Use 24 screws per panel minimum | Even screw distribution across the panel face stops flexing and groove widening. |
| Level the first row perfectly | Any misalignment at the base compounds upward, creating visible crooked seams. |
| Choose commercial-grade MDF panels | Aluminium-insert panels resist sagging and slot deformation in busy retail environments. |
| Finish all edges with trim | H-channel and corner moulding protect MDF edges from moisture and give a polished result. |
Why I think most boutique owners underestimate the installation
Most boutique owners I speak to treat slatwall installation as a one-afternoon job. They buy panels, borrow a drill, and assume the wall will sort itself out. The results are usually fine for the first few weeks, until the shelves go on and the weight reveals every shortcut.
The levelling step is where I see the most damage done. Owners rush the ledger board, eyeball the level, and move on. Three rows up, the panels are visibly crooked and there is nothing to do except take them all down. A laser level costs less than an hour of a fitter’s time. Using one is not perfectionism. It is basic risk management.
The choice of panel grade matters more than most people realise. Home-grade slatwall panels look identical to commercial panels in the shop. Six months of loaded shelves tells a different story. The grooves widen, the hooks tilt forward, and the whole display starts to look tired. Commercial-grade panels with aluminium inserts cost more upfront but they hold their shape for years. In a boutique, where the display is part of the brand, that difference is visible to every customer who walks in.
The finishing step is the one most often skipped entirely. Bare MDF edges look cheap and absorb moisture from cleaning. H-channel trim takes twenty minutes to fit and transforms the look of the whole wall. A luxury, seamless boutique finish is largely achieved through careful trim installation that protects panel edges and masks cuts. That detail is what separates a professional installation from a DIY one.
My honest advice: take twice as long on preparation as you think you need, use commercial-grade materials, and never skip the trim. The installation itself is straightforward once those three things are in place.
— Lee
How DirectShopfittings can help with your boutique slatwall project
Boutique owners who want to get their wall display right from the start need both quality materials and reliable guidance. DirectShopfittings stocks commercial-grade slatwall panels, trim, and accessories suited to small retail environments, with fast delivery and a customer service team that understands the specific demands of boutique shopfitting.

Whether you are fitting out a new boutique or refreshing an existing display wall, the shopfitting essentials guide on the DirectShopfittings site covers everything from panel selection to fixture choices for small retailers. For owners planning a full store opening, the retail store opening equipment guide provides a practical checklist of fixtures and fittings including slatwall solutions. DirectShopfittings sources hard-to-find items quickly, which matters when you are working to an opening date.
FAQ
How many screws does a slatwall panel need?
Professional installers use at least 24 screws per 4×8 foot panel, driven through the grooves directly into wall studs. Even spacing across the panel prevents flexing and groove widening under load.
What screws should I use for slatwall panels?
Use 2–3 inch coarse-thread drywall screws for mounting slatwall panels on MDF or wooden studs. Fine-thread screws strip out of MDF quickly and do not provide adequate grip.
Do I need to use adhesive as well as screws?
Adhesive is optional on standard walls but recommended for high-traffic boutique installations. A continuous bead of construction adhesive behind each panel eliminates the hollow, bouncy feel and increases shear strength significantly.
How do I stop my slatwall panels from looking crooked?
Level the first bottom row with a spirit level or laser level before fixing any panels. Any misalignment in the base row compounds upward through every subsequent panel, making crooked seams almost impossible to correct without removing all the panels.
What is the difference between commercial-grade and standard slatwall panels?
Commercial-grade panels use higher-density MDF cores and reinforced grooves with aluminium inserts. This prevents the slot widening and sagging that standard panels develop under the sustained weight of retail accessories in a busy boutique environment.